How to Seam Artificial Grass
Installing artificial grass is an excellent way to achieve a lush, low-maintenance lawn, but one of the most critical steps in the process is ensuring that the seams are properly joined. Poorly executed seams can result in visible gaps, an uneven surface, and even damage to the turf over time. To achieve a seamless, natural-looking artificial grass installation, we’ve created this detailed guide to help you learn how to seam artificial grass like a professional. This step-by-step process will ensure that your artificial grass lawn is both durable and visually appealing.
1. Preparing the Area for Seaming
Before you can start seaming your artificial grass, you need to ensure that the area where the grass will be installed is properly prepared. Preparation is the foundation for a smooth installation, and it’s crucial that you follow these steps carefully.
- Clear the Area: Begin by clearing away any debris, rocks, or sharp objects from the area where the grass will be laid. You want a clean surface for both the underlay and the turf itself.
- Level the Ground: It’s essential that the ground is even to prevent any dips or bumps in your artificial grass. Use a rake or tamper to ensure a smooth, level surface.
- Install a Sub-Base: A sub-base, typically made of crushed rock or gravel, should be laid and compacted. This ensures proper drainage and provides a stable foundation for the artificial grass. The thickness of the sub-base will depend on your specific installation but is typically around 2-4 inches.
2. Laying Out the Artificial Grass
Once the base is prepared, you can begin laying out the artificial grass. Proper alignment and positioning are essential to achieving clean, invisible seams.
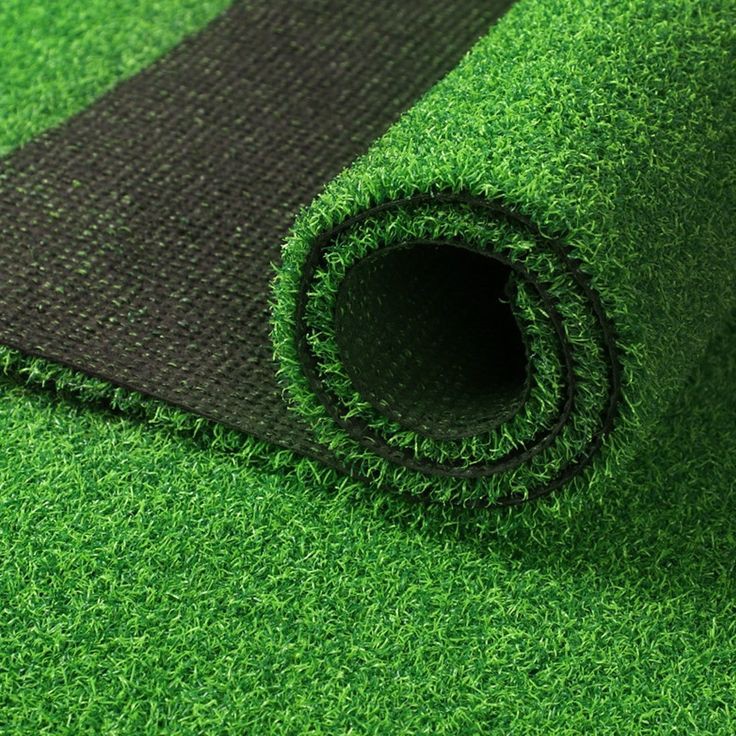
- Roll Out the Turf: Start by unrolling the artificial grass across the installation area. If you’re using multiple pieces of turf, make sure they are laid out in the same direction. The grass fibers should all face the same way to create a consistent appearance.
- Let the Turf Settle: Leave the grass to settle for a few hours to allow any wrinkles or creases from the roll to flatten out. This also gives you time to ensure everything is properly aligned before making any cuts.
- Trim the Edges: Use a utility knife to trim any excess turf around the edges of your installation area. Make sure the cuts are clean and precise, as this will make the seaming process easier.
3. Preparing the Seams
When seaming artificial grass, the goal is to make the joints between two pieces of turf invisible. Proper preparation of the seams is critical to achieving this.
- Align the Seams: Carefully position the two pieces of turf you want to seam together. Make sure the fibers are facing the same direction, and the backing is aligned perfectly. There should be no overlap or visible gaps.
- Cut the Turf Edges: For an even, professional look, cut the edges of the artificial grass along the seam. Use a sharp utility knife to cut in a straight line. The cuts should be made just wide enough to allow the two pieces of turf to meet without overlapping.
- Check the Fit: Once you’ve made your cuts, check that the two pieces of turf fit snugly together. The seam should be tight, with no visible gaps between the edges of the turf.
4. Applying Seam Tape and Adhesive
Once the seams are aligned and trimmed, it’s time to join the pieces of turf together using seam tape and adhesive. These materials ensure that the seams are secure and long-lasting.
- Lay Down Seam Tape: Position the seam tape along the seam, centered between the two pieces of artificial grass. The tape should be placed with the adhesive side facing up. Make sure the tape extends the full length of the seam.
- Apply Adhesive: Using a caulking gun or trowel, apply artificial grass adhesive evenly across the seam tape. Spread the adhesive in a consistent layer to ensure proper bonding between the turf and the tape. Avoid applying too much adhesive, as this can cause bulging at the seam.
- Press the Turf into Place: Carefully bring the two edges of the turf together, pressing them firmly into the adhesive on the seam tape. Apply even pressure along the length of the seam to ensure a strong bond. You may want to use a roller or a heavy object to weigh down the seam while the adhesive sets.
5. Securing the Seams
After the adhesive is applied, it’s essential to secure the seams to prevent them from shifting during the curing process.
- Weigh Down the Seams: Place heavy objects, such as sandbags or bricks, along the seam. This helps to keep the turf in place while the adhesive cures and ensures that the seam remains tight and secure.
- Allow Time for the Adhesive to Cure: Let the adhesive cure for at least 24 hours before walking on the turf or using the area. This curing time is necessary to ensure the adhesive has fully bonded the seams.
- Check the Seams: Once the adhesive has cured, check the seams to ensure they are secure and that no gaps have formed. If any gaps are visible, use additional adhesive to fill them in and press the turf together again.
6. Final Touches and Maintenance
After the seams have been successfully joined, there are a few final steps you can take to ensure a flawless finish.
- Brush the Grass Fibers: Use a stiff-bristled broom or a power brush to lift the grass fibers along the seam. This will help to blend the seam into the rest of the turf and make it less noticeable.
- Add Infill: Depending on the type of artificial grass you’ve chosen, you may need to add infill material, such as silica sand or rubber granules. Infill helps to keep the turf fibers upright and provides additional cushioning.
- Regular Maintenance: To maintain the appearance of your artificial grass and keep the seams from becoming visible over time, it’s important to regularly brush the turf and remove any debris. This simple maintenance routine will help your artificial grass stay looking its best for years to come.
Conclusion
Seaming artificial grass is a crucial step in the installation process that requires careful preparation and attention to detail. By following these steps—preparing the area, aligning the turf, applying seam tape and adhesive, and securing the seams—you can achieve a smooth, seamless artificial grass lawn that looks natural and will last for years. Properly executed seams not only enhance the visual appeal of your lawn but also ensure its durability and longevity.


